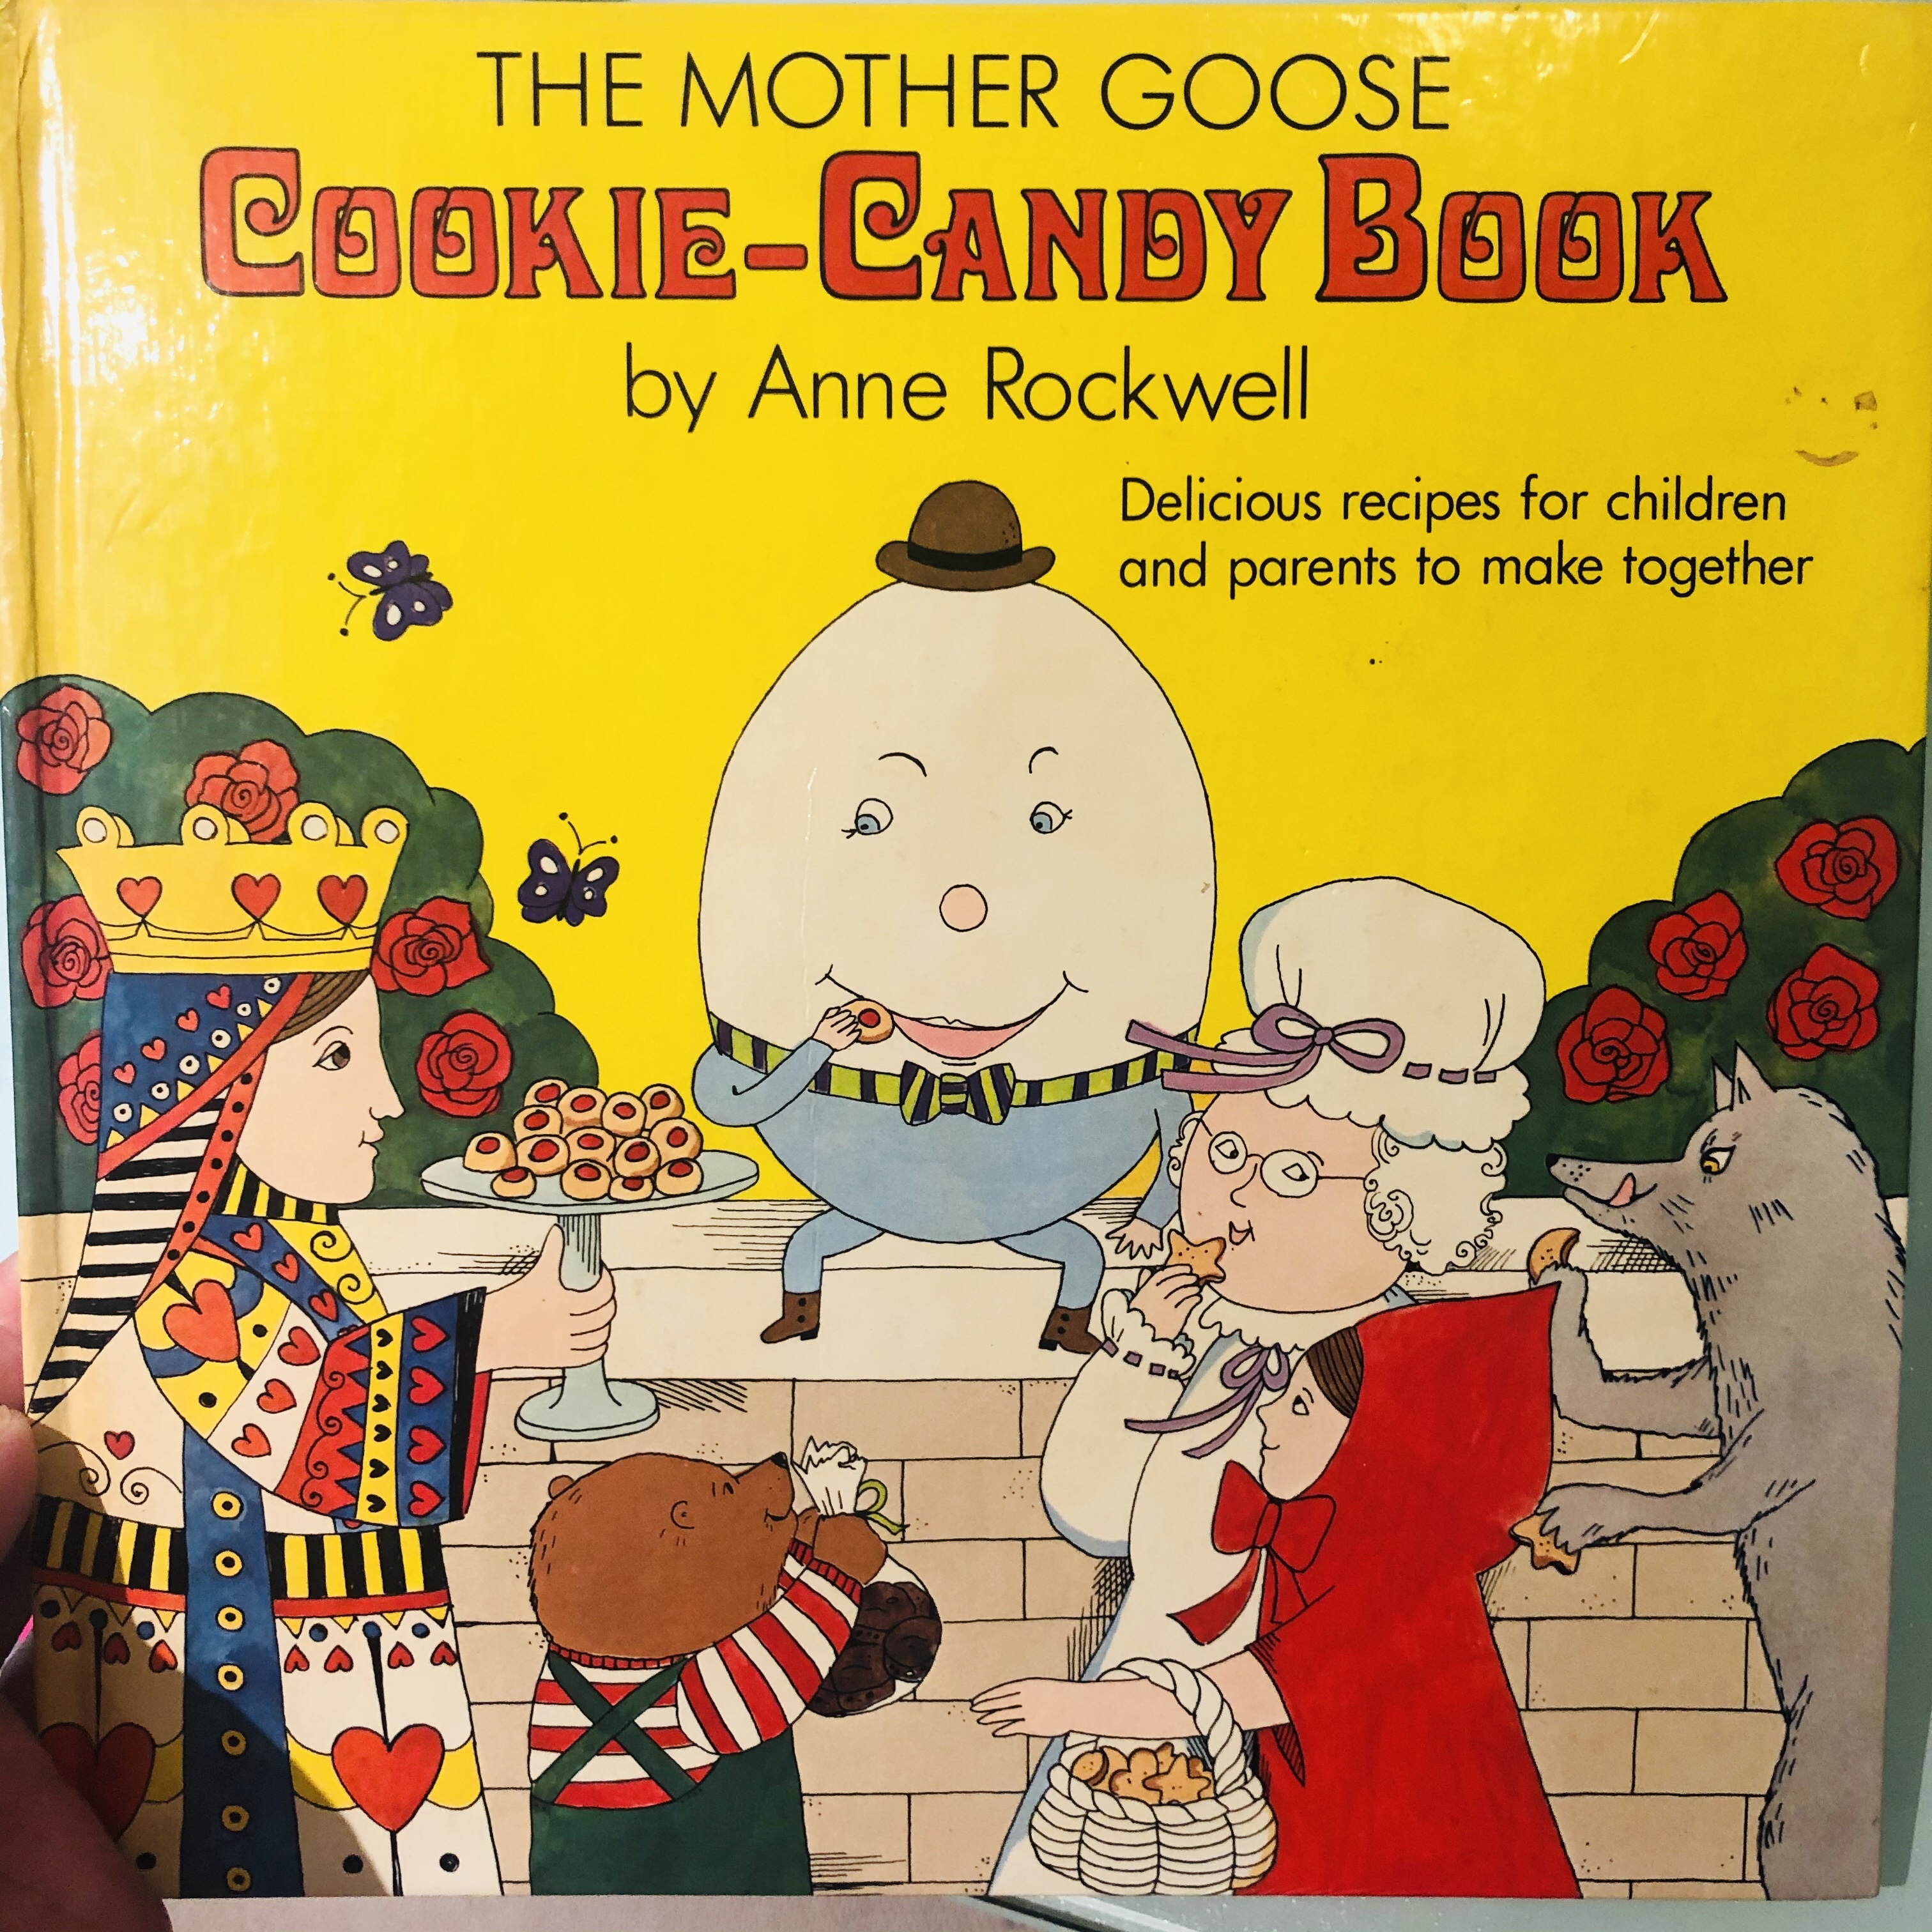
Posted on Leave a comment

TAMALE PIE all scratch

Yesterday, the neighbors were cooking something yummy. It smelled like Enchiladas, and off I went to the internet for inspiration. The following recipes were loosely based off stuff I found around the net, as well as what I had available to cook with. Husband REALLY liked this one, so here I am writing it down.

CHILI POWDER:

  • 4 TBSP. Sweet Paprika
  • 1.5 TBSP. Dried Oregano
  • 1 TBSP. Cumin powder
  • 1 tsp. Salt
  • Chipotle powder (or other pepper)
  • Black Pepper

RED ENCHILADA SAUCE:

  • 1 TBSP Pork Lard
  • 1/2 Onion, chopped
  • 4 cloves Garlic, chopped
  • 1 TBSP Chili powder
  • 1 tsp. Cumin
  • 1 tsp. Salt
  • Black Pepper
  • 1 12 oz. can Tomato Sauce
  • 1 Red Bell Pepper, chopped
  • 1 cup Salsa
  • 4 oz. Water

Cook off the onions and garlic in lard, bacon fat or vegetable oil. Add spices and cook for 1 more minute. Add the rest of the ingredients and cook for 30 minutes.

TAMALE PIE:

Oven: 400 degrees

Meat Filling:

  • 1 pound Ground Beef
  • 1/2 Onion, chopped
  • 4 cloves Garlic, chopped
  • 1 TBSP. Chili Powder
  • 1 recipe of RED ENCHILADA SAUCE (above)
  • 1 1/2 cups Cheddar Cheese, shredded

Cook the ground beef until brown, then add onion, garlic and spices. Cook for 3 minutes. Add the Enchilada Sauce and cook for about 5-10 minutes until thickened. Pour into medium casserole (2.5 Qt) and sprinkle the shredded cheddar over the top.

Tamale Topping:

  • 1 1/2 cups MASECA masa harina corn flour
  • 1 1/2 teaspoons baking powder
  • 1 1/2 cups chicken broth
  • salt to taste
  • 3/4 stick of butter
  • 1 cup Cheddar Cheese, shredded

Melt butter. Add chicken broth and mix. Mix the flour, baking powder and salt in a bowl. Add the broth and butter to the flour and mix well. Fold in the cheese. Spread this dough over the meat mixture in the casserole, trying to keep it even, and making sure to spread all the way to the edges. Use your hands 8)

Bake at 400 degrees for 20 minutes, then I lowered the heat to 350 and covered it for another 20 minutes. Done!

Enjoy with sour cream, fresh fruits and veg, and also cerveza!

Posted on Leave a comment

Homemade Boba for Milk Tea (Low Sugar)

3 oz. Tapioca Starch

2 packets Stevia (optional)

1 teaspoon Matcha Powder (optional, but makes it a cool algae green)

Boil some water while mixing the above dry ingredients in a mixing bowl.

Begin adding boiling water to the dry ingredients, one Tablespoon at a time, mixing it around to try and get everything touched by hot water. I usually add about 2 oz (4 Tablespoons) of water total. The areas that get wet will get visibly gummy and transparent looking. Just smash the dry mix into the wet areas using a fork (it’s still pretty hot at this point) over and over until it starts to form a shaggy dough. It should be cooler by now and you can start to knead it together by hand. The texture is very similar to Play-Doh once you get it all together. If it seems like dried out Play-Doh, add a teaspoon of warm water and knead it some more. Slightly dry will be easier to work with than sticky. If it becomes sticky, just add some extra Tapioca starch and knead some more until you get where you want. A little water goes a long way 8)

Now that you have a nice green dough, cut it into 6 pieces. Keep the pieces you’re not working on under a cover so they don’t dry out. Grab one piece and roll it into a nice long log about 1 cm thick. Then cut the log into pieces about 1 cm long. You can choose to roll each of those 1 cm cylinders into a ball but I find that takes a while, and I’d rather just make my milk tea now thank you. Cooked Boba doesn’t store well, so if you want to save it for later, put them in a container and store in the fridge at this point. If you’re worried they’ll stick together, just give them a shake in more starch.

Ready for Boba now?

Boil some more water. Add your desired amount of Boba to the boiling water and boil for 5-10 minutes until the texture is where you like it! Now drain your Boba and then Soak the freshly cooked Boba in Brown Sugar, Honey or Syrup…

At least, that’s what most recipes say. I’ve become a fan of just draining them from the boiling water and putting them at the bottom of my cup and adding my milk tea on top! There’s a slight sweetness to them if you’ve added the Stevia at the beginning and it’s really nice in some matcha with some Vanilla Soy Milk (for a touch of sweet and creamy in the tea). Yum! Very little sugar added unless you want to 8)

Posted on Leave a comment

Yummy Cheese Dip for Chips

I LOVE nacho cheese! And I love it when I can still dip in it after it’s refrigerated. Like a jar of Tostitos Queso – I can sneak into the fridge with one chip in hand, and satisfy that craving!

There are LOTS of recipes on the internet that start with a Bechamel type-base and add a variety of seasonings like chili powder and cumin… but none of them were quite what I was looking for. If I liked the flavor, it was usually just because it was made of a roux plus milk and cheese. But it missed the acid, and the texture was always off. If I tried to eat any of it while cold, my chips would break off… ugh.

Then one day while working, I actually ran out of Podcasts to listen to for the day. So I started to search for something new to listen to. I saw a Bon Appetit episode available on QUESO. I listened, and learned, and then my daughter and I went to the kitchen, inspired. We came up with this. It’s just a little different then the BA recipe, we adjusted for our tastes. But, I can’t say enough thanks to Bon Appetit for getting me this close!

As with all of my recipes here on my online journal… it’s a work in progress, and I will update it as we learn more tweaks that we like!


Chop 1/4 small onion.

Mince 1 clove garlic.

Mince 1/3 cup jarred Jalapenos, include that juice!

Chop 8 oz. American cheese (You NEED this for texture, trust me. Go with 8 – 1 oz. slices, or grab a block and cut 8 oz. into smaller cubes)

Grate 8oz. Cheddar Cheese (or other cheese of your choice, maybe Monterey Jack)

Melt 1 Tablespoon of Butter (I always have salted on hand) in sauce pan over medium heat until foamy

Cook the garlic and onion until translucent.

Add 1/2 tsp. Cumin and 1/4 tsp. Cayenne pepper, and cook until aromatic.

Get 1 cup milk. Pour 3/4 cups of that milk into the saucepan and simmer.

Use the remaining 1/4 cup of cold milk to make a thickener, by adding 1/2 Tablespoon of Cornstarch and stirring. Mixing the cornstarch into a small amount of cool liquid helps to prevent lumps.

Add cornstarch mixture to the pan and simmer over medium heat. Simmer for at least 1 full minute. BA says this is necessary to keep it from getting “grainy” in texture.

Reduce heat to medium low and begin to melt in your grated/cubed cheeses. Add small portions of cheese and stir it in to the pan to melt. Then, add more cheese. Do this until all the cheese is added and melted in.

Remember that 1/3 cup of jalapenos that you minced up? And kept some juices from that jar too? Add it into the cheese sauce now and stir. You are ready to go!

If you can’t eat it all, feel free to pop it in the fridge to snack on later! It’ll harden a little when it gets cold… but you can still easily get a nice thin tortilla chip in there and get a scoop! Yay!